Warning: Contains scenes of amateur DIY which some viewers may find distressing. Professional plasterers and decorators may wish to look away now.
At the end of January, when my daughter's Tardis bedroom had finally been emptied of it's 'enough to fill a small terraced house' contents, I started work on Project Sewing Room - quite a daunting task for a cautious DIYer. The outside wall of this room has been 'problematical' ever since we moved in 23 years ago. We always suspected that the thick, textured wallpaper covering it was hiding a multitude of sins, but with three children in the family the room always had at least one or more occupants, and the opportunity to tackle what lay beneath never really arose. So we just kept painting over it and hoping for the best. Even when we had our windows replaced seven years ago, and the installers did an absolute botch job of plastering the window surrounds (rough lumpy plaster literally smeared on top of the wallpaper), my daughter just hung fairy lights everywhere, and after a while we almost stopped noticing what a mess it actually was.
I was right to feel apprehensive, though, because once we started to peel back the wallpaper it practically fell off the wall, along with scary amounts of ancient plaster, leaving large holes around the window which went all the way through to the brick. Above the window we even found the remnants of some Rupert the Bear wallpaper that had probably been there since the house was built in the 1930s. It was obvious that previous owners had never done much more than skim over the original plaster, and at some point someone had applied horizontal strips of black tar-paper, most of which was still tightly bonded to the wall. In an ideal world we should have taken the whole wall back to the brick and had it properly re-plastered, but we don't know any plasterers and were worried that we wouldn't find anyone interested in doing such a small job. We also knew we didn't have the skill or know-how to tackle this task ourselves. So we decided to follow in the footsteps of past inhabitants and do a 'patch' job instead - leaving anything that still seemed relatively sound in situ, repairing the damaged areas, and then literally papering over the cracks!

It took me nearly two weeks to prepare the wall for decorating - scraping off the loose tar-paper, filling and sanding all the smaller holes, and building up incremental layers in the large damaged areas each day, until they were finally flush with the surrounding plaster. I levelled out the obvious 'step' in the plasterwork left by the window installers as best I could - reducing it to more of a gentle slope. Not exactly a perfect finish, but still a big improvement on how things were before.
 Once I'd reached the 'it's as good as I can get it' stage with the patch job, we covered the entire wall with Wallrock Dampstop Thermic wallpaper - the modern version of the tar-paper previously used to combat damp/condensation. This went up surprisingly easily considering those 'gentle slopes' around the window and all the other lumps and bumps it had to cover - clearly visible in the photo below!.
I papered over the top of this with a slightly textured vinyl wallpaper chosen to loosely (very loosely) 'match' the wallpaper on the other three walls, and then the whole room got a new coat of paint to tie it all together. The papering and painting stage took another couple of weeks - even working at a snail's pace every osteoarthritic joint in my body was howling in protest by the end of each day.

Once the alcove at the end of the room had been papered and painted we moved my daughter's old wardrobe into position and I took a day off from the decorating to have a clothing declutter. Even though not having to share a wardrobe with my husband any more technically gives me extra storage space, I wanted to take the opportunity to get rid of all the clothes that no longer fit me and/or never get worn. So I sorted them into keepers, hand-me-downs for my sister, hand-me-ups for my Mum, a couple of hardly-worn things for my daughter to sell on Vinted, a few sentimental things saved for upcycling, a big bag for the charity shop, a very small bag for the bin, and 'Hey Presto!' a tidy wardrobe containing only things that fit me and will get worn. I love it!

We also decided to splash out on a new spare bed - the Hemnes day-bed from Ikea, which pulls out to convert from a single to a double and has 3 big storage drawers underneath. Once the bed was made up with some of my daughter's old discarded cushions, a cosy blanket and a couple of rescued charity shop friends, my husband christened it 'Jackanory Corner'. I think he really hit the nail on the head. It's the perfect place to curl up with a book for a while, and makes me wish I was the sort of person who felt refreshed (rather than hungover) after a nap, because if I was, I'd definitely be using it for that too!

One of my main aims for Project Sewing Room was to have enough storage space for all the fabric and sewing paraphernalia I've squirreled away in various nooks and crannies around the house over the years. My friend gave me a set of three 'vintage' Ikea cupboards when she was clearing out her Mum's house after she died - unlike their modern equivalents they're constructed from solid pine, rather than particle board or veneer, so they're really sturdy, with plenty of drawers, shelves and cupboard space for a sewing hoarder to fill. They've been stacked up against the wall in our bedroom for nearly a year - we thought we'd only be storing them there for a few weeks, but then my daughter's first house purchase fell through. It's lovely to see them finally installed in the space they were intended for, rather than having to squeeze past them at bedtime every night!

I had another sorting and decluttering session before filling the cupboards - gathered all the sewing-related "stuff" I could lay my hands on, and went through it all very methodically. Now I have designated drawers for ribbons, tools, threads, fasteners, buttons, and more. I even have a little drawer for pins and needles! It will be so nice to be able to put my hands on anything I need, without having to think where to find it first...

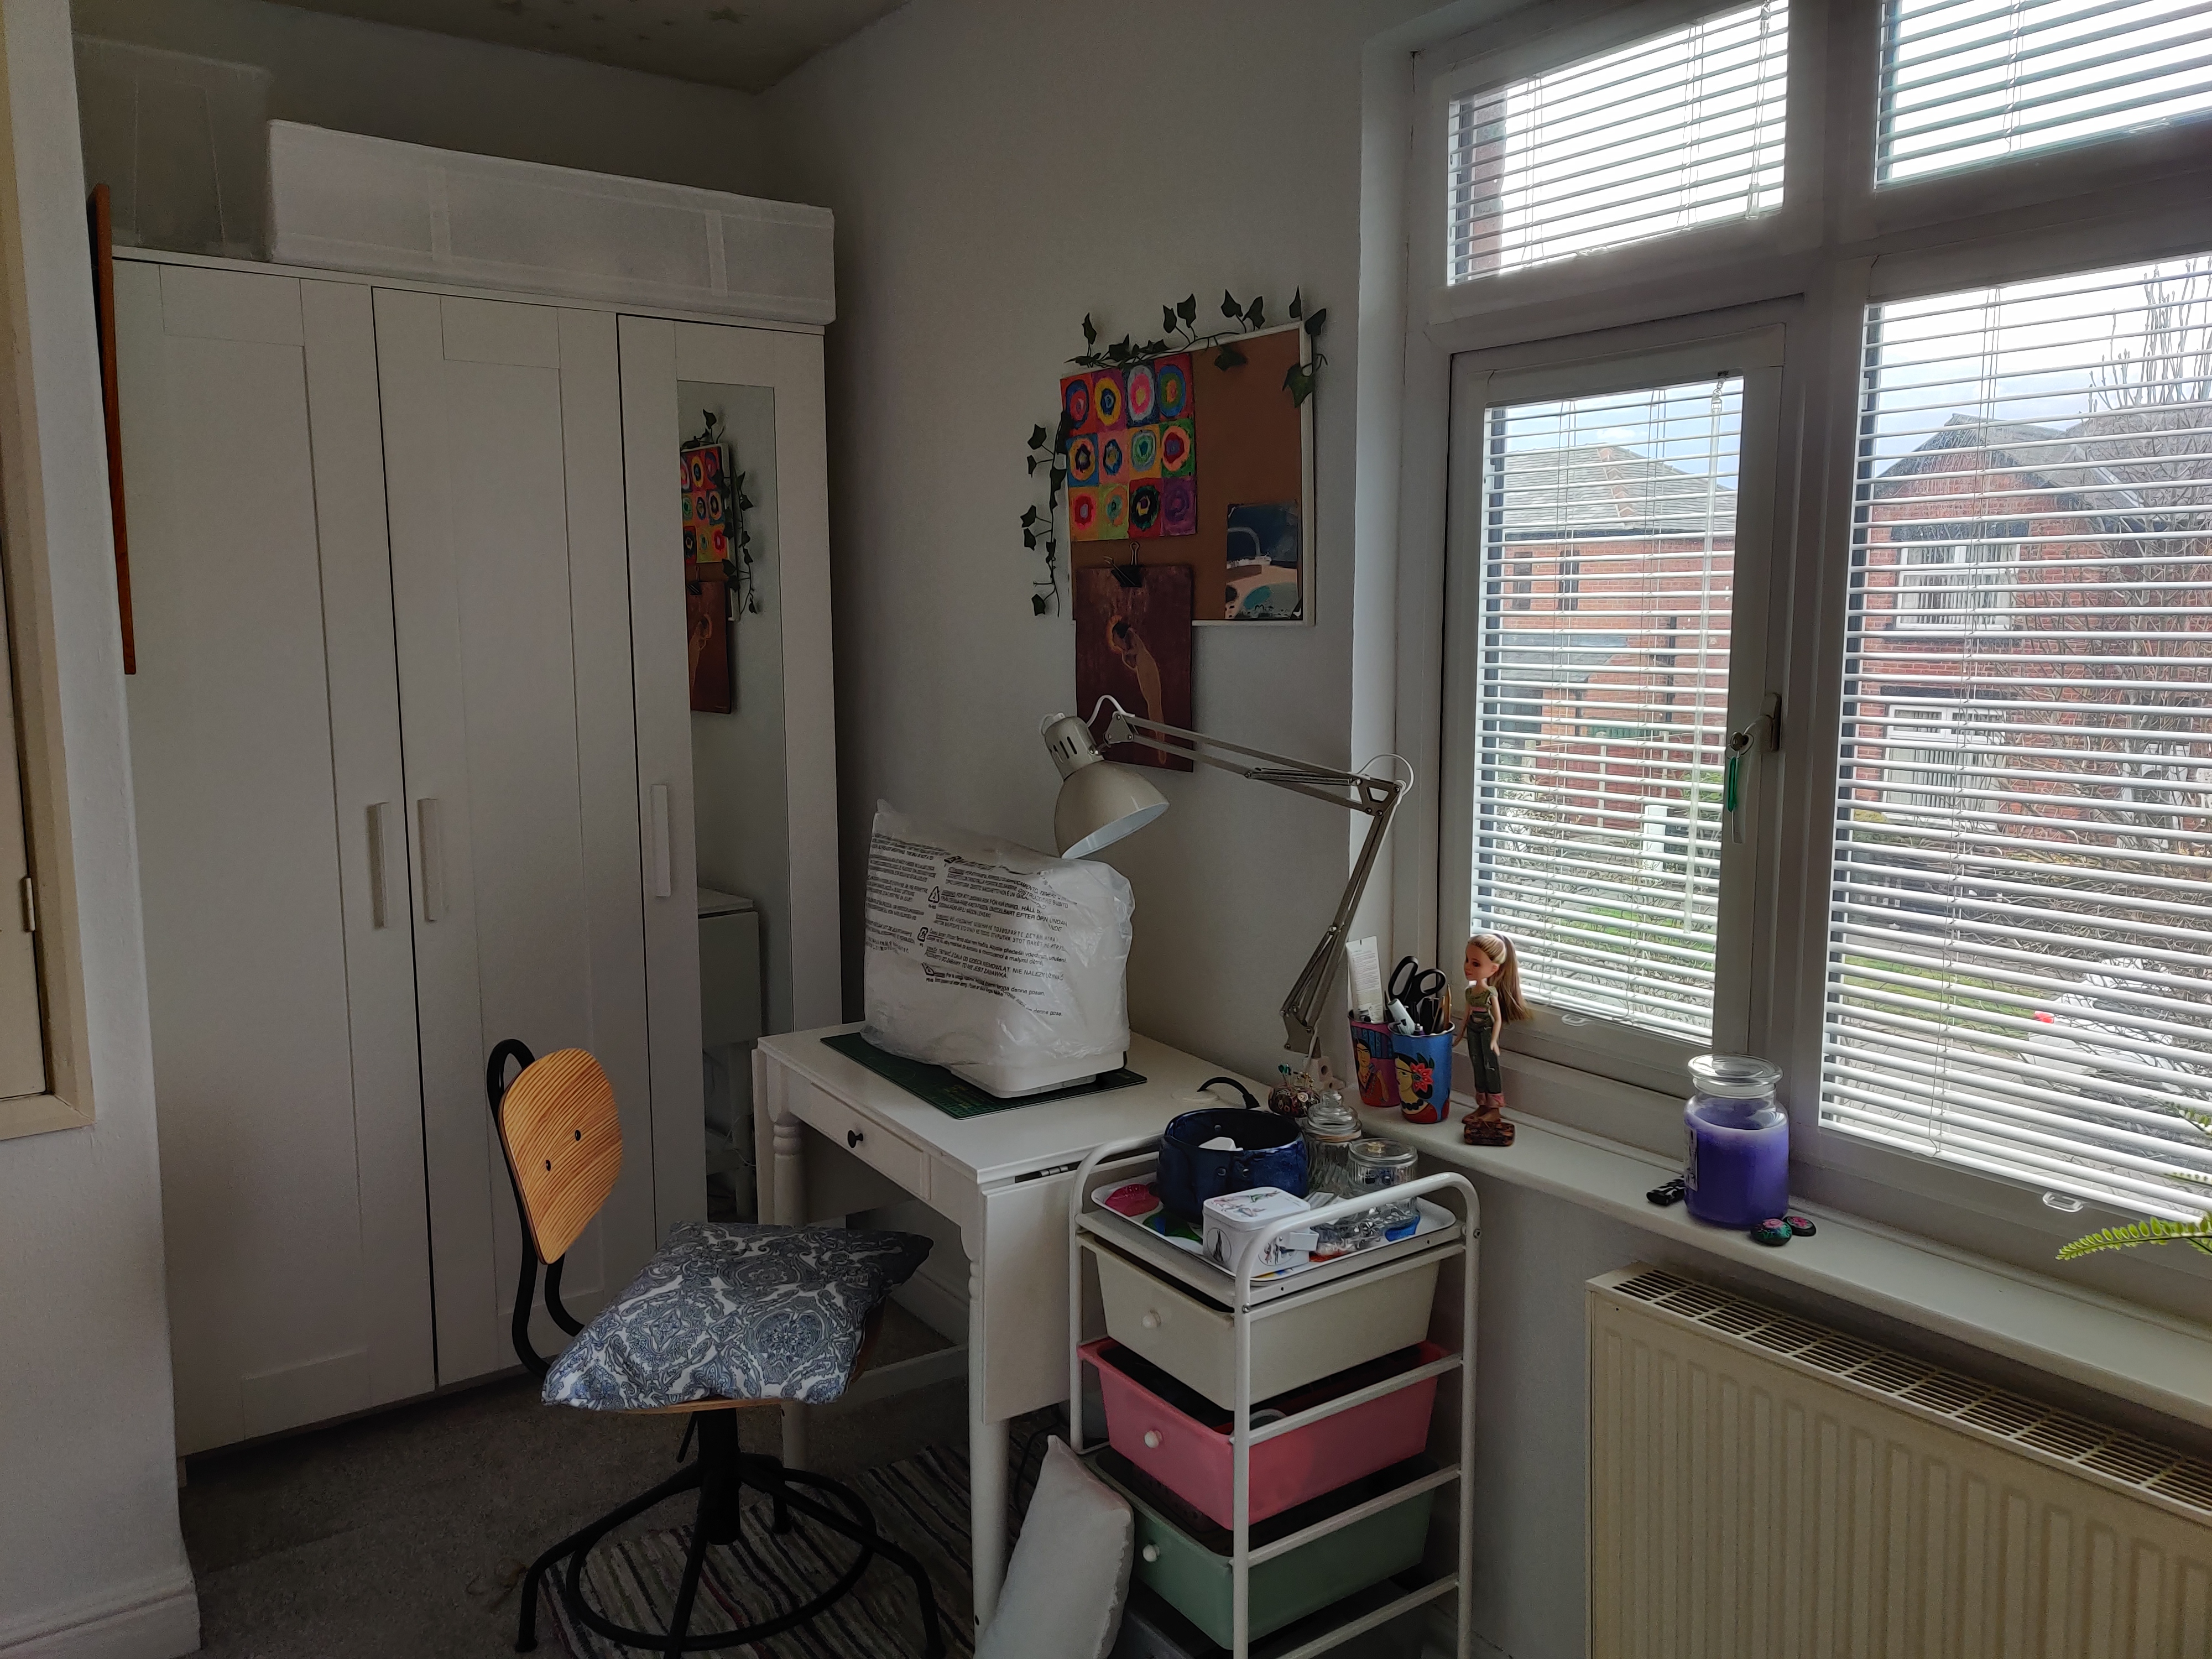
...and on the other side of the room my little sewing table tucks in perfectly next to the wardrobe.
I feel so very lucky to have this room of my own. It was worth all the hard work and plaster dust in my hair to get it to this point, and I can't wait to start on some new projects soon. Happy times await me in this cosy little space.
P.S. Best of all, the slopes, lumps and bumps are barely noticeable now - if you ask me, they're all just part of Jackanory Corner's rustic charm!
Wow wow wow! I am so impressed! The finished product looks amazing AND great job on all the decluttering! Look at your new room! This is just lovely to see.
ReplyDeleteAwww, thanks Nicole!
DeleteWell done for a brilliant makeover. We have similar problems with some external walls: in parts of the house when we have removed wallpaper all the plaster has come with it.
ReplyDeleteDelighted to see your Hemnes day-bed - I've been thinking about getting exactly the same one so it is great to see yours in situ. Which mattress options did you go for? Thank you.
Thanks Jayne! We went for the Vann mattresses - my daughter has the same bed in her spare room, and she had chosen Vanns - a couple of her visitors have slept on them and said they were really comfortable. 😊
DeleteWhat an amazing transformation. You've done a great job. Xx
ReplyDeleteThanks Jules! It probably wouldn't stand up to close inspection, but the overall effect is a big improvement! 😂
Delete