When my daughter moved out in January, she left behind her old bed - the remaining bottom half of a Ikea bunk-bed, circa 2000. As it was an odd size (a bit narrower and longer than 'standard' single mattresses nowadays) we didn't think anyone else would want it, but I couldn't bear the thought of taking perfectly good wood to the dump either. Fortunately, my husband and I both arrived at the same bright idea for how to repurpose it - I'd claim that we did this independently of one another, were it not for the suspicion that, after many years living with me and my 'keep it, it might come in handy' ways, the poor man has been thoroughly brainwashed. Either way, the decision to incorporate the old bed into the Back Hallway Shelving Project ended up being totally unanimous!
The Back Hallway Shelving Project Back Story
At some point in our house's history, one of the former owners built an extension onto the back of the house. This was originally just a big room with big windows, known as 'The Sun Room' (according to the label on the main fuseboard). The Sun Room was accessed via the old back door, and a new back door exit was added on the right hand side. Subsequently someone decided to carve out a downstairs toilet/shower room, in the corner of the Sun Room next to the back door, thereby creating a little Back Hallway with three doors off it (the back door, the toilet/shower room door, and the 'What Was Left of The Sun Room' room door.
Ever since we moved in (circa 2000), the little nook by the back door has been occupied by a very tall, narrow chest of drawers, originally designed to hold CDs. It belonged to my husband long before we met, and he is (for some unknown reason) very fond of it. I've always hated it (shiny, royal blue, with fiddly brass knobs, what on earth were the designers thinking), but its one saving grace was that it fitted the nook perfectly, and did a sterling job of keeping quite a lot of Stuff and Clutter at bay. Namely, gardening gloves, string, bird food, seed packets, clothes pegs, secateurs (top two drawers); old CDS belonging to no-one, that no-one ever played but no-one wanted to part with (middle two drawers); and old mobile phones, similarly un-part-able-with (bottom two drawers). It was also the main storage point for spare shower curtain rings (just outside the shower room, you know it makes sense).
In addition to the Hideous Blue Drawers, the Back Hallway has always been home to the Back Hallway Shoe Collection, in recent years consisting of (but not limited to), my husband's cycling shoes (he comes and goes to work on his bike via the back door), his old trainers for bad weather trips to the bin and messy outdoor jobs, his old Crocs for good weather trips to the bin and non-messy outdoor jobs, and my gardening clogs. No matter how many times I put these shoes neatly to one side, they would revert back to a footwear obstacle course format within minutes - becoming one of those chronic domestic issues that irritate you every time you encounter them, but that don't quite meet the threshold for actually doing something about them. At some point last year something finally snapped in my husband, and he started saying, "I think we need a better storage solution for the Back Hallway Shoes. I think we should build some shelves to fit the nook where the blue drawers are". I was happy to (a) solve the shoe problem, and (b) get rid of the Hideous Blue Drawers, but did not want to take on the role of Project Leader. Pointing out that we would first need to sort through the contents of the HBDs brought the project to a screeching halt for many months, until the bunk-bed wood presented itself, like a gift from the Gods.
A Storage Solution is Born
We quickly realised that the four long pieces of wood from the bed base and and side rails could be used to form the uprights for the shelving unit, and that the slats could be used to make the tops of the shelves. After a lot of head scratching and measuring and doodling we decided we had enough room for eight evenly spaced shelves, with a slightly bigger space mid-way to allow easy access to the light switch. A further stint of head-scratching, measuring and doodling led us to the happy conclusion that we had enough shorter pieces from the ends of the bed to make all sixteen shelf supports if we cut them in half lengthwise. A prolonged period of sawing, sanding, drilling and nailing-together ensued...
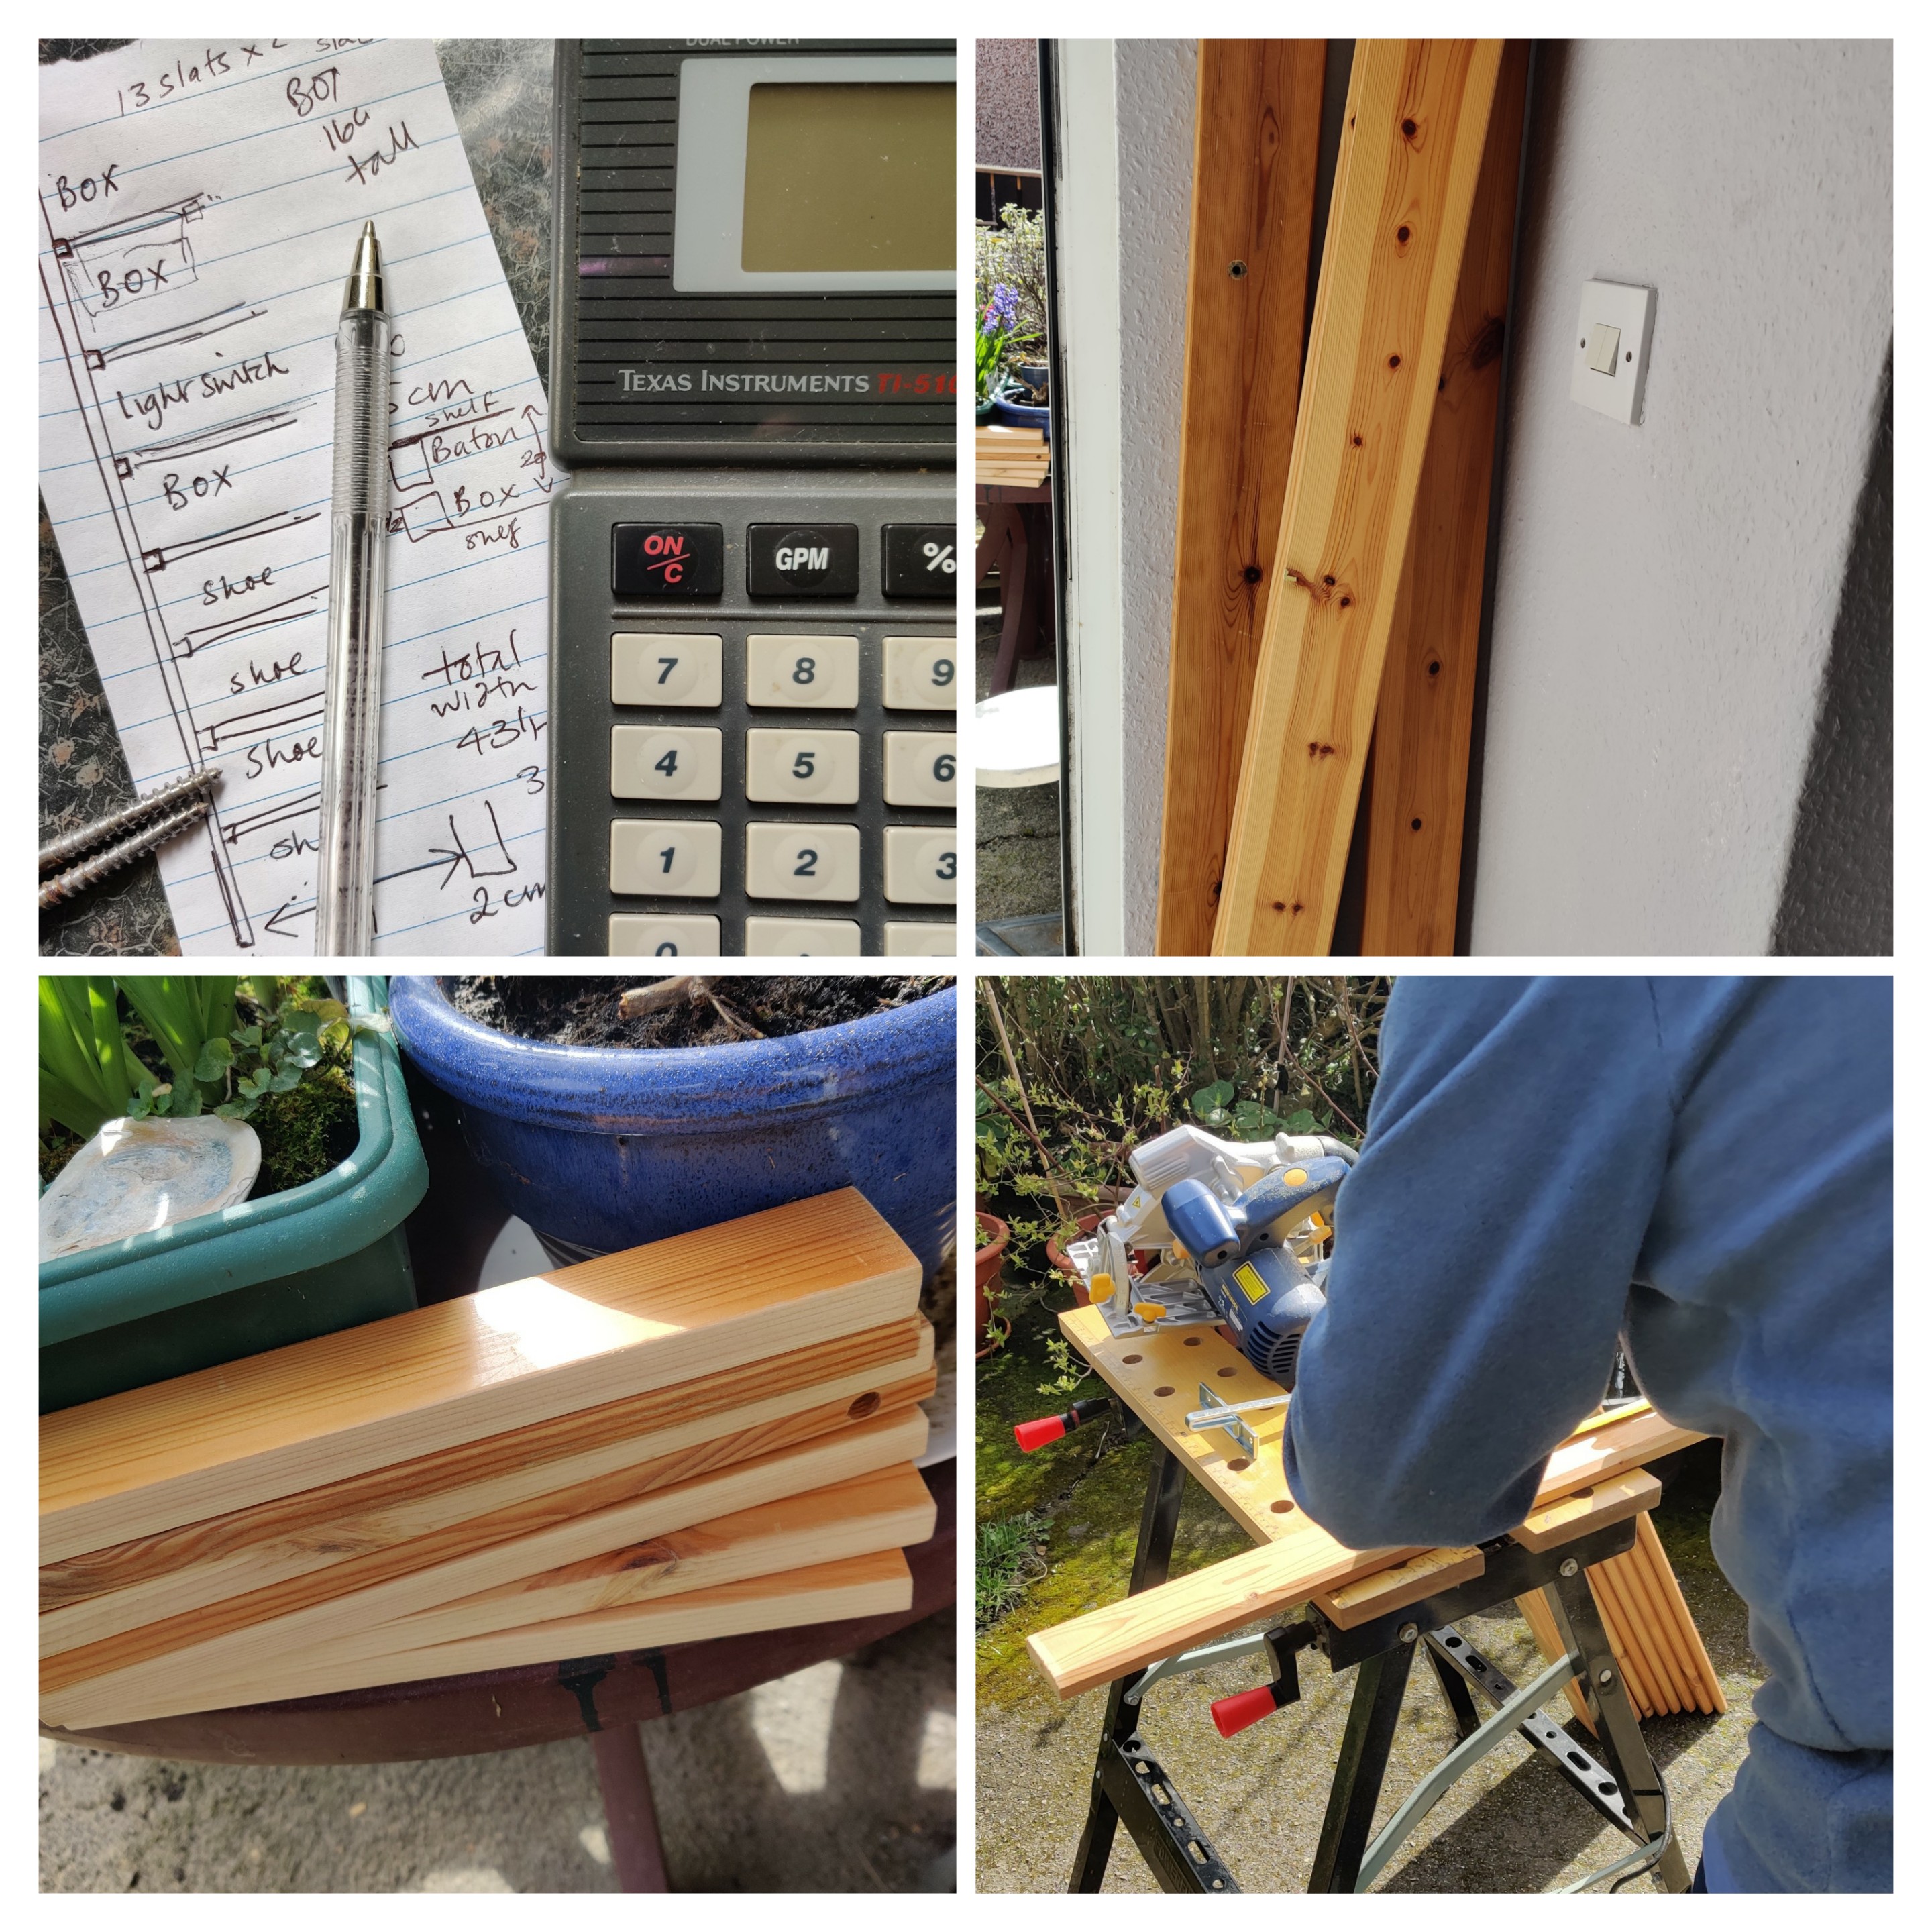
...until we had eight made-to measure shelves stacked up by the back door. All that remained was to screw the shelves to the uprights, nail some hardboard panels to the back, to give the whole structure more stability, and move it into position in the Back Hallway...

...where it fits perfectly! Here is the side view, seen from the old Sun Room...

...this is the view from the toilet/shower room...

...and this is the view from the other direction. Did I mention it fits perfectly?!

And just to prove that no husbands were harmed in the making of this project, here are the Hideous Blue Drawers, tucked neatly into the space between the door and the wardrobe in the newly appointed Man Cave (in the little 'spare' bedroom upstairs). He even got to keep quite a few of the CDS that no-one ever plays, and the mobile phones that no-one ever uses. His Man Cave, his Rules!

Wow, that looks great! What a fantastic solution. I am so impressed.
ReplyDeleteWe kind of impressed ourselves! :-)
DeletePerfect! Will you be taking orders? ;)
ReplyDeleteHmmmm...the amount of head-scratching, measuring and doodling that goes into these 'pieces' probably rules us out of the competition! :-D
DeleteVery satisfying to be able to repurpose your daughter's old bed like that. The new custom made storage looks great and as you said 'fits perfectly'.
ReplyDeleteThanks Beverley! I do love it when a plan comes together!
Delete